Great Room update
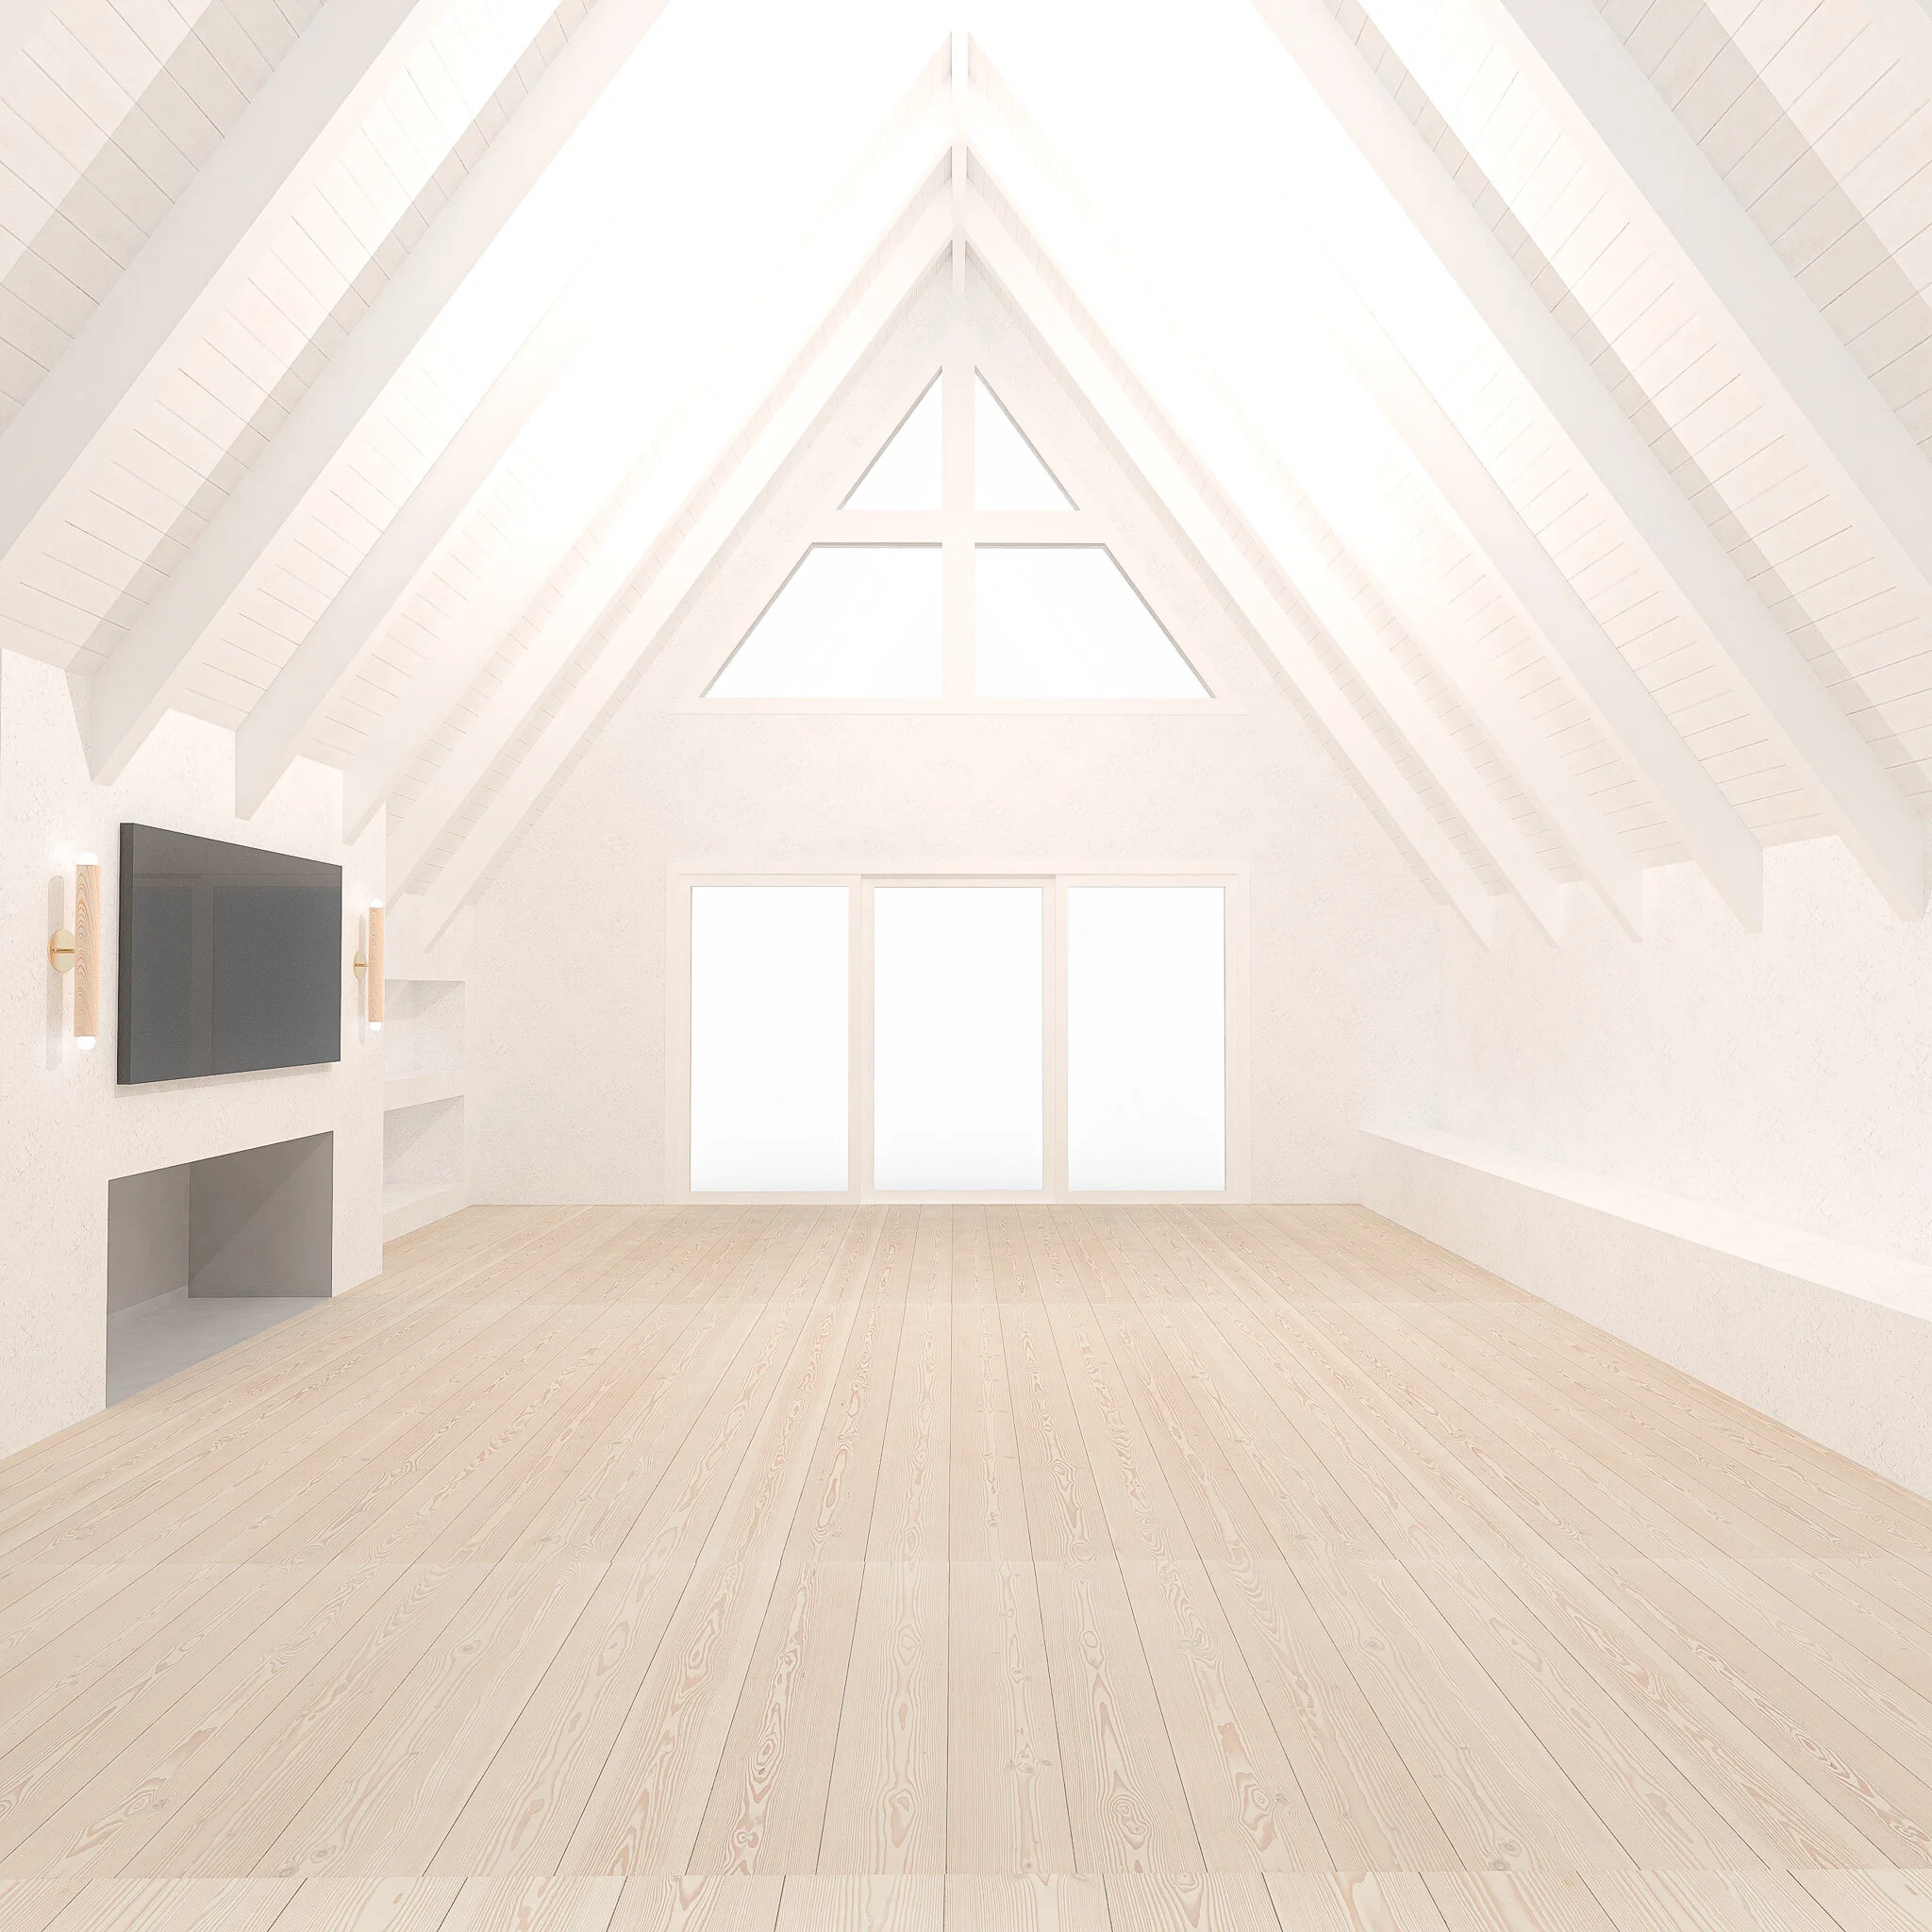
This week I’m looking to shore up the final design of the Great room which means detailing the dining bench, the fireplace and finalizing all of the little details that need to come together. I thought this would be a great opportunity to share a few updated renderings on where we are with the design for the great room pre-furniture…


I really love the way its coming together. It feels clean and fresh but retains the warmth and coziness that I love about the space as it is now. We are in the process of pricing this out with General Contractors. I typically have a list of ‘value engineering’ options in my mind should the project come in over budget (they always do!). Value Engineering is a fancy term used in the industry for the phase in the process where you may need to swap out materials or details for something more cost effective. I like to note ideas during the design process for where I might be willing to be flexible not only to maintain the project budget but, perhaps most importantly, to ensure we do not over-invest in an element where we won’t meet the ROI on our added cost. A former boss used to say “Just be cause you can, doesn’t mean you should.” Personally, I would spend the money for these ceilings, but realistically it may not make sense in terms of the financial investment. If you’re unsure about the ROI on your project, talk through your plans with a local real estate agent you trust. They will have great insight into what really gets a return.
While we await the pricing, here are a few test renders I did of three VE options to address the space…
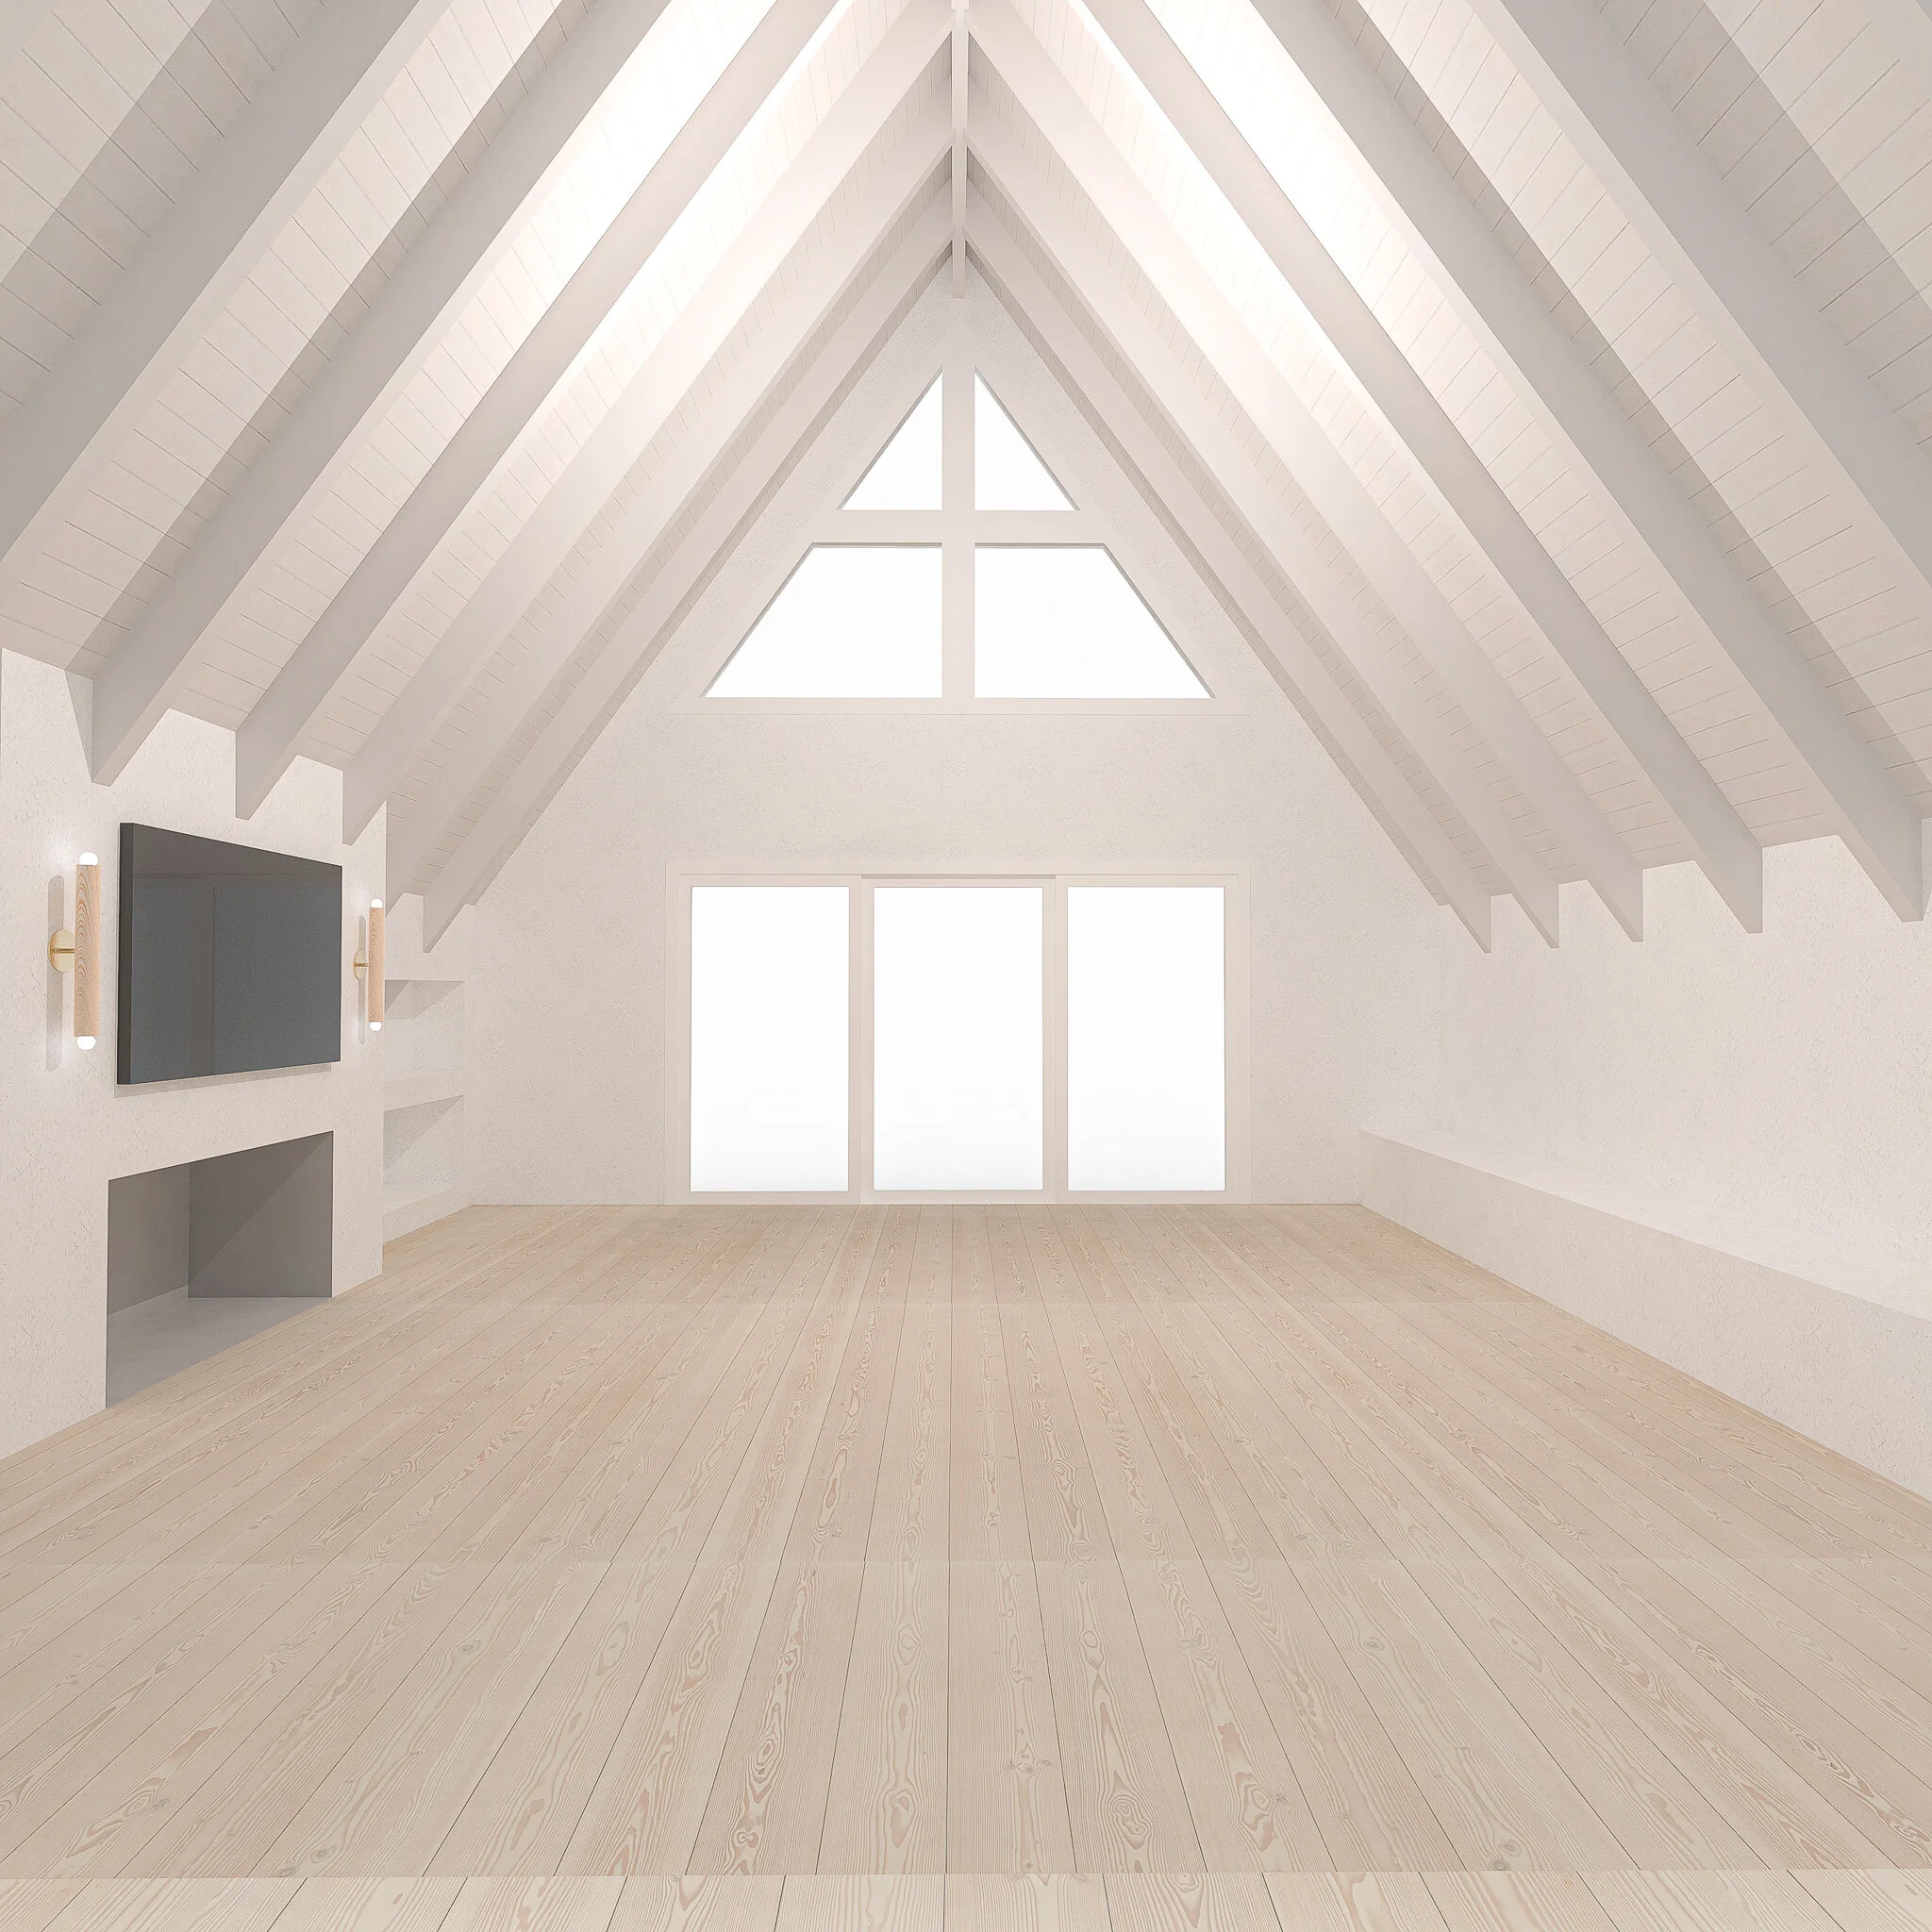
VE Option 1: Refinish the beams, paint the wood ceiling white


This first VE option allows us to forego 95% of the sanding/eliminates the need to walnut blast. This saves both time and money. This is my favorite of the 3 VE options and the one I would likely pursue should our project come in over budget. It still retains the integrity of the original build with the refinished exposed beams but brightens the space significantly with the white.
VE Option 2: Paint it all white
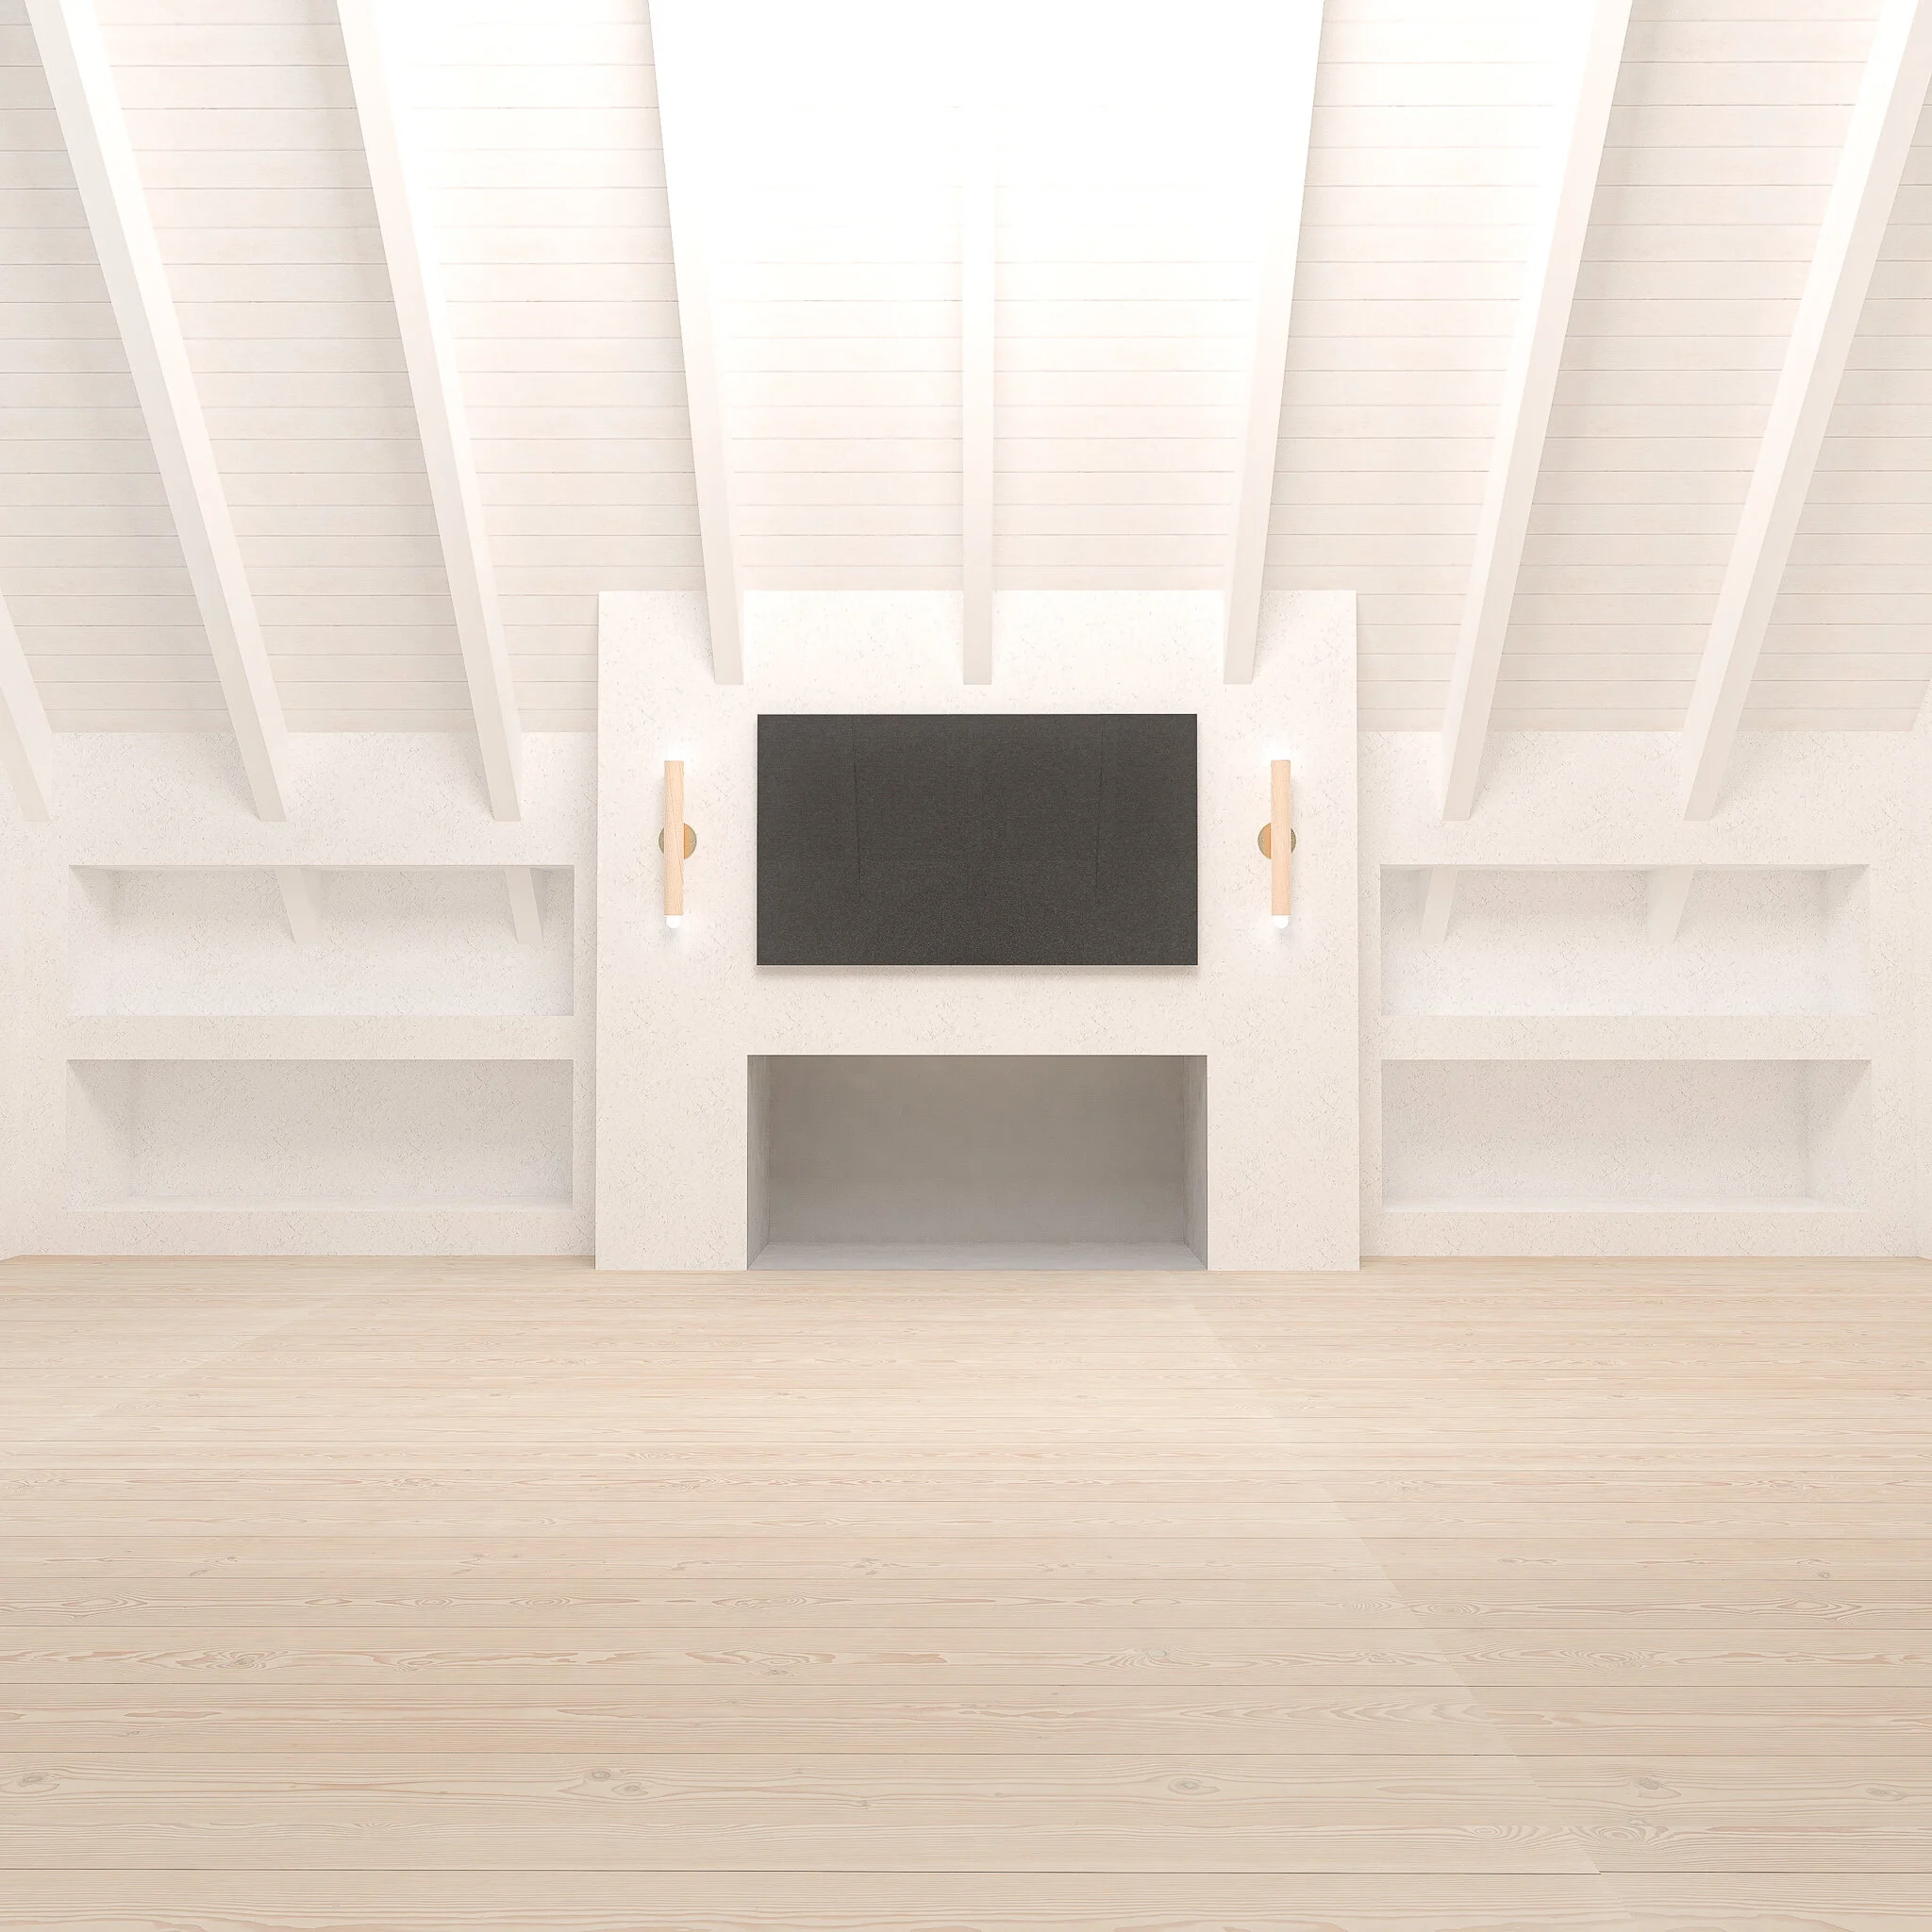
Cut to the chase - I hate this option. It’s still pretty but it doesn’t have the warmth the original does. This one is off the table for me.
VE Option 3: Paint Ceiling 2 shades darker than the walls

This option is the same scope of work as option 2, however, we’d be using a paint color about 2 shades darker than the walls. This is a trick I learned from Shea McGee of Studio McGee. She did this in her master bedroom that had very high ceilings. Putting a darker color on the ceiling, even if it is still a shade of white, will always cozy up the space as it will make the ceiling feel a little lower. It is a great trick for vaulted ceilings and I think it does the trick here.
This option is the same price as the prior option and either would be cheaper than the original design and VE option 1. I love to have tiers of options so I can really think through what I value most in the project and have the flexibility to make it work. Doing these test renders is a great way to show the range of options. Now, all we need is a price tag for each and we’re ready to make some decisions!